You’re sweating on the rower but not seeing progress. Or worse, you feel niggles in your lower back. Sound familiar?
Whether you’re powering through a home rowing machine or hitting the gym, proper technique is everything. Rowing with good form engages nearly your entire body; legs, core, arms and back which gives you a perfect full‑body workout. It also protects your body as poor posture or timing can overstrain muscles and joints.
By learning the right stroke, you’ll burn more calories and avoid common injuries, so each workout is safe and effective.
Stick around… This guide breaks down 11 common mistakes and how to fix them. Plus, you’ll explore rowing setup tips, so you know how to use a rowing machine correctly. Let’s row stronger, safer and faster every session.
11 Common Rowing Machine Mistakes to Avoid (and How to Fix Them)
Below are the top rowing machine errors we see. For each, we explain the problem and give a quick fix so you can correct your rowing technique right away.
1. Using only your arms
Rowing isn’t like lifting weights. Over 60% of your power should come from your legs, not your arms. Beginners mostly grab the handle and pull hard, thinking it’ll go faster. In reality, arms and back contribute only about 20% of the drive. Relying on your arms wastes energy and slows you down.
Fix:
Drive with your legs first. Go like: “legs → core → arms”.
Push through your heels and straighten your legs before bending elbows. This engages the big leg muscles (60% of the power) and creates momentum. Keep your upper body braced and swing open your hips only after your legs are almost straight. Try a drill of 30 seconds of legs‑only pulls, allowing your arms to stay straight. This helps you feel the leg drive before adding the upper body.
2. Pulling with your arms too early
Similarly, starting the arm pull before your legs finish lets potential drive go to waste. If you bend the elbows as soon as you initiate the stroke, your legs aren’t doing their full work, and you lose speed.
Fix:
The proper sequence is legs, then core, then arms.
Delay the arm bend. Keep your arms straight while your legs power the handle back. Only once your legs are near full extension should you “pass the baton” to your upper body – then squeeze your core and pull with the arms. A good mental cue is “legs first” or “wait ‘til 10 o’clock.” This means delay the arm pull until your legs have nearly finished the drive.
3. Bending your knees too early on recovery
During the recovery (coming forward), your legs should straighten first, giving them a brief rest. If you bend your knees too soon, your legs stop extending before you’ve reset, effectively shortening the stroke. In other words, you’re rowing “over a barrel”. The handle has to maneuver around your knees and you’ll tire out faster.
Fix:
Let the handle come to you. On the slide forward, keep your knees locked down until your arms have extended and your body has hinged forward. Only once your hands are past your knees should you bend the legs to slide back to the catch. Think “arms and body first, then knees.” This way, your legs rest slightly and you maintain a smooth rhythm.
4. Collapsing the chest or rounding the upper back
Slouching reduces power and breathing capacity. A common culprit is letting your shoulders hunch or collapsing your chest, especially at the catch. This posture not only feels weak but can strain your neck and back. Rowers should keep a tall, neutral spine through the stroke.
Fix:
Open your chest. At all times imagine your collarbones are pointing up toward the ceiling.
Keep your neck long and shoulders relaxed. At the catch, you should have a slight forward lean from the hips (torso around the 11 o’clock position) with a flat back. This position creates space to breathe and lets your core transfer power from legs to handle efficiently.
5. Over‑compressing at the catch
Squashing all the way down (seat touching heels) is a problem. If your seat hits your heels or your shins go past vertical at the catch, you’re over‑compressed. This forces your back to round and puts your legs in a weak angle, so your leg drive is less effective.
Fix:
Don’t reach so far. Sit forward so your shins are vertical (or just past vertical) and your shoulders sit in front of your hips.
Imagine a clock, about the 1 o’clock position for your body. There should be a little air between the seat and your heels, and your lower leg should form a triangle with your upper leg at catch.
To train this, you can put tape on the rail at the point where your shins go vertical. Use that as a “bump stop” so you learn to stop just before over-compressing.
6. Rushing the drive or chasing stroke rate
Speed isn’t measured by how fast you chop through strokes, but by how much power each stroke delivers. Some rowers yank the handle quickly or crank up the stroke rate, hoping to go faster. In reality a lightning-fast, weak stroke won’t move the machine well; it just wastes energy. Remember: quality trumps quantity.
Fix:
Follow a drive–recovery rhythm (often about 1:2). Drive firmly and briskly, then slow down on the way back.
Focus on strong, long strokes rather than firing your legs and arms around frantically. A helpful ratio is about 1 second drive to 2 seconds recovery, and a moderate stroke rate (around 20–24 strokes per minute for most training). If you raise your rate, maintain tension and form. Don’t just move faster for its own sake.
7. Lifting the handle over the knees on recovery
Doing the recovery out of order causes this: if you pull your arms back before your legs slide forward, you’ll find the handle “clashes” with your knees. Lifting the hands over the knees breaks the smooth sequence and shortens the effective length of the stroke.
Fix:
Reverse your recovery order: extend your arms fully and hinge at the hips first before bending your knees. Glide forward until the handle naturally clears your knees, then unlock and bend.
Think “fast hands, then slide.” This way your handle stays at a consistent height and your stroke is longer.
8. Leaning too far back at the finish
It may feel dramatic to open up and lean way back at the end, but rowing does almost nothing for speed. An excessive backward lean doesn’t add power and can overly tax your lower back. Keep your finishes controlled. You don’t need a superhero backbend.
Fix:
Limit your finish. Aim for about an 11 o’clock lean (a slight swing back). Just enough so your shoulders pass your hips, but not flat on your back. This way you still engage your core and legs fully without hinging the spine. You should feel a strong leg push all the way, not a dramatic back arch.
In short: a modest lean, not a giant lean.
9. Leading the drive with your hips or “butt-first” thrust
Pushing your hips backward first (away from the handle) seems like it might add speed, but it actually misaligns you. Butt-first shifts load to the lower back and breaks the leg-driven sequence. Essentially, you want to stay stacked at the catch, not snap your lower back forward.
Fix:
Keep your torso over your thighs at the catch (core engaged at 11 o’clock). Initiate the drive by pushing through your heels, letting your hips follow naturally.
Your legs should extend first; your hips then open up only after the legs do the work. Your back stays straight and tight as you drive. the motion comes from legs, not from thrusting your hips back.
10. Rowing short / incomplete strokes
Sometimes beginners cut the stroke too short; either not reaching forward enough at the catch or stopping short at finish. This shortens the distance per stroke and slows you down. Every tiny bit of extension counts.
Fix:
Row “long and strong.” Reach fully at the catch (with good posture) so your arms are straight and body leaned slightly forward. At the finish, pull all the way to your chest (or belly button, at waist height) before recovery.
Think of each stroke covering as much slide distance as possible. Even if you can’t keep power through the very end, aim to fully extend and flex with every pull.
11. Poor setup, grip, breathing or no warm-up
Overlook these at your risk. Loose foot straps or wrong footplate height can wreck your catch and limit leg drive. Gripping the handle like it’s a barbell can cause wrist or forearm strain. Holding your breath tenses you up. Skipping a brief warm-up means your muscles aren’t ready. All of these small mistakes add up.
Fix:
Check your gear:
· Strap the footstraps over the ball (widest part) of your feet
· your ankles should flex so shins can be vertical at catch
· Avoid thick-heeled shoes; use flat, stable shoes for real foot connection.
· Hold the handle relaxed; wrap fingers around with thumbs under, keep wrists flat.
· Breathe smoothly: inhale on recovery, exhale as you drive.
· Finally, always do a 5–10 minute warm-up (light rowing or dynamic stretches) focusing on good form before any hard session.
These steps alone prevent wasted effort and injuries so you can row efficiently right from the first stroke.
Rowing Machine Setup & Form Tips for Better Technique
Good form starts before you even pull the handle. Here are some setup pointers and drills to lock in your technique:
è Pro Tip: ‘Try strapless rowing’
Strapless rowing (with straps open) is a high-value drill to sharpen sequencing and foot connection. Drill: 60–90s at 18–20 SPM, focusing on leg drive and timing. Shorten the slide if feet slip.
è Common rowing setup errors to avoid
- Foot straps too loose or too high; strap over the widest part (mid-foot).
-
Footplate set too high; prevents vertical shins at the catch.
-
Chunky-heeled shoes; use flat-soled footwear.
-
Grip too tight; relax your hands and keep wrists neutral.
è Damper setting & drag factor
Different machines use air, water or magnetic resistance. On air rowers the damper lever changes airflow. Higher damper feels heavier but doesn’t replace technique. For rowing for beginners and technique drills, choose a moderate or lower damper; focus on clean strokes. If your monitor shows drag factor, use it to match resistance between machines.
è Using the monitor effectively
Use the screen as feedback; not a distraction. For technique sessions, ignore split and concentrate on SPM and form. Use memory/session history to track progress and note damper/drag settings for consistency.
è Footplate position & ankle mobility
Set straps across the mid-foot so shins can be vertical at the catch with shoulders ahead of hips. If ankle dorsiflexion is limited, add ankle mobility drills and calf stretches to your warm-up.
Is poor form or low-tech holding your workouts back?
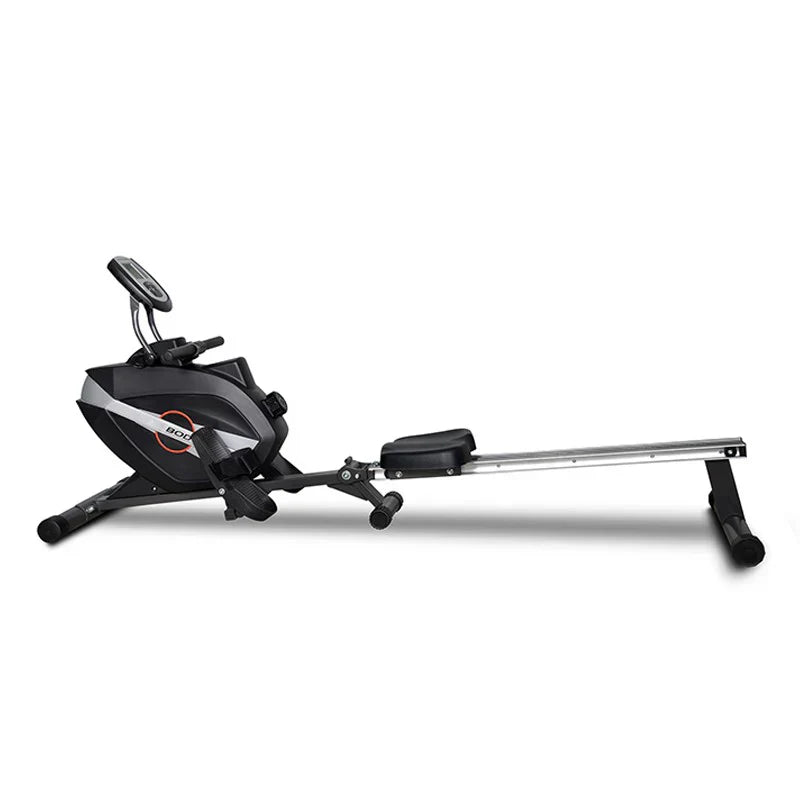
Row Better and Faster with Premium Rowing Machines at Trojan Fitness
Discover the difference that a high-quality rower and gear can make. Trojan Fitness offers top-rated rowing machines (water and magnetic) designed for smooth, effective full‑body workouts. Upgrade your routine with equipment that keeps you rowing safely and powerfully.
Get Your Best Rower Ever
Explore Trojan Fitness’s range of indoor rowers and accessories, built for comfort and real water‑row or air‑row feel.
From easy tension adjustments to ergonomic footplates, Trojan rowers help you nail the proper stroke every time. Plus, expert support and local service in Perth, WA.
Shop Rowing Machines Today
FAQs: Rowing Machine Techniques & Common Questions
Q1: What should I not do on a rowing machine?
Avoid treating the rower like a bodybuilding row or sprint cycle. Don’t pull with arms only. Don’t hunch your back or over‑lean. Don’t motor at a super high stroke rate with weak strokes. These “no‑nos” waste energy and can cause injury. Instead, follow the proper leg‑core‑arms sequence and maintain good posture.
Q2: What’s the most common injury or pain from indoor rowing?
The most frequent complaint is lower-back pain, usually from over‑leaning, rounding, or using the back improperly. You can prevent this by engaging your core, keeping a neutral spine, and avoiding extreme finishes. Wrist or knee strains can also occur if your setup is wrong (too tight straps or poor timing).
Q3: What is the correct stroke sequence on a rowing machine?
The stroke has four phases: Catch → Drive → Finish → Recovery. In simple terms, drive with legs first, then swing your body and finally pull with your arms; then release arms, tilt body forward, and slide back (legs stay straight) to return to catch. Practically, legs → core → arms on the drive; then arms → core → legs on the recovery. This “leg‑body‑arms / arms‑body‑legs” order uses your biggest muscles correctly and keeps the motion smooth.
Q4: How hard should the damper be on a rowing machine?
Start moderate. On an air-rower a damper of 3–5 is ideal for learning form. On water or magnetic rowers, adjust so you feel a steady push (not a dead pull). Too high a setting gives no extra benefit and can fatigue you prematurely. Think of damper as “boat feel,” not power. Technique creates the strength, not the lever.
Q5: Why does my lower back hurt after rowing?
Most often it’s form-related. Leaning back too far, rounding at catch, or starting the drive with a hip thrust can strain the lumbar spine. Check your posture. Keep your spine long (collarbones up) and use legs rather than jutting hips. Also ensure you’re warmed up and not rowing with your spine flexed. If pain persists, reduce session length and focus on core stability exercises off the machine.
Q6: How many strokes per minute (SPM) is ideal?
There’s no single ideal, but for most steady workouts a rate of around 24–28 SPM is comfortable. This range allows good technique on each stroke. Lower rates (18–24) can be used for power drills or endurance, while higher rates (30+) are typically for short intervals or racing. The key: maintain efficiency.
Q7: How often should I row to improve technique?
Consistency is key, but don’t overdo it. Aim for 3–5 sessions per week, focusing on technique rather than just high intensity. Include at least one easy, form-focused session (possibly on alternate days) and allow rest or active recovery between hard workouts. Quality over quantity will sharpen your skill faster. Remember, muscles and technique improve with practice and recovery.
Disclaimer:
The information provided on this website is intended for general informational purposes only and should not be considered professional or medical advice. We make every effort to ensure the information provided is accurate and up-to-date, but we cannot guarantee the accuracy, completeness, or timeliness of the information. Any reliance you place on such information is strictly at your own risk. Always consult a qualified professional before making any significant changes to your diet, exercise routine, or lifestyle. We are not responsible for any adverse consequences resulting from the use of, or reliance on, any information provided on this website.
 All Payment Methods are Accepted